- How To Polish, Sand, and Tumble Crystals by Hand in 15 Ways
- Sandpaper
- Olive and Coconut Oils
- Diamond Polishing Pads
- Banana Peel
- Polishing Compounds
- Vinegar and Salt
- Japanese Stone Polishing Technique
- Toothpaste for Polishing Gems
- Dremel
- Baking Soda, Coffee Grounds, and Flour
- Polishing Wheel
- Beeswax
- Polishing Cloth
- Sand and Water
- How To Pick a Tumbler for Polishing Crystals?
- What Crystals Are Best To Polish?
- Which Crystals Can’t Be Tumbled?
- FAQ
- Start Polishing Crystals and Gemstones Easily at Home!
Polishing enhances the natural patterns and shine of the crystal. See how to use sandpaper, beeswax, vinegar, salt, olive oil, and other ways for polishing, sanding, and tumbling gemstones.
We have many crystal shapes known for their polishing and cutting techniques, like Vogels, cabochons, beads, wands, aura crystals, pyramids, palm stones, orgone pyramids, and spheres. In fact, crystals have been polished for 12,000 years.
How to polish crystals at home without power tools or machines? How to use polishing clothes, wheels, and tumblers for crystals?
The best ways to polish crystals at home include using sandpaper, oils (coconut and olive), diamond polish pads, banana peels, vinegar, salt, baking soda, coffee grounds, flour, toothpaste, sand, water, and beeswax. Jewelry polishing cloth, polishing wheels, and rock tumblers are even better.
Join me to learn how to polish, sand, and tumble gemstones by hand and with home-use kits and machines like a pro.
How To Polish, Sand, and Tumble Crystals by Hand in 15 Ways
Polishing is an easy process that our ancestors did without tools eons ago, and you can do it safely at home, too. First, inventory crystals you want to polish, sand, and tumble. Then follow the instructions as shown below.
Let’s dive right in!
Sandpaper
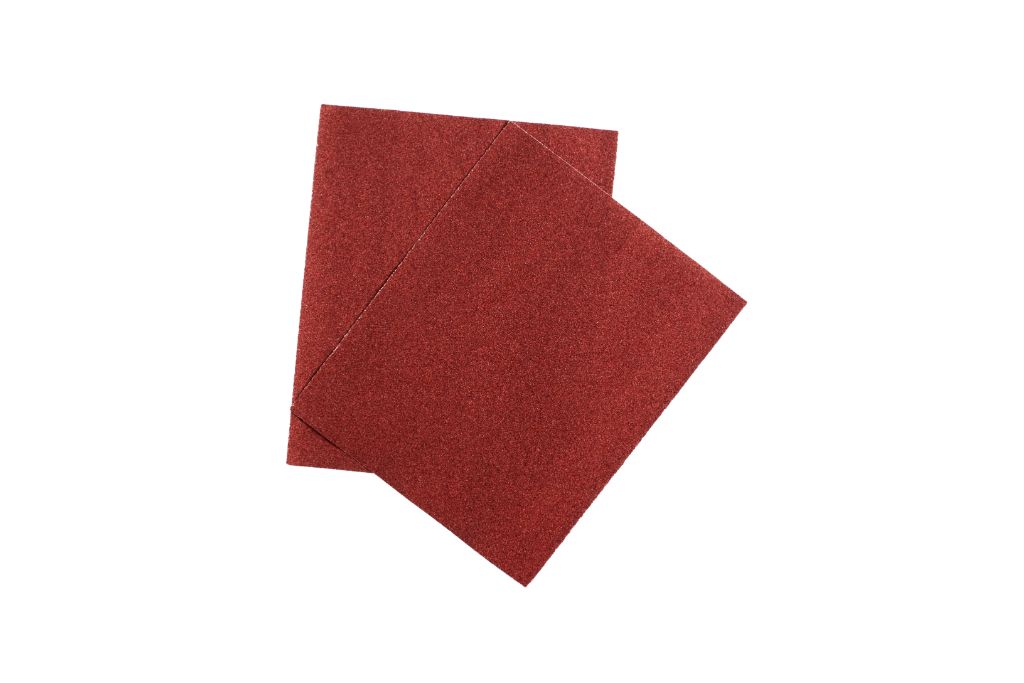
Did you know Sandpaper was invented almost a millennium back? Sandpaper used to be made from seeds, shells, and sand glued to parchments, unlike the silicon carbide and aluminum oxide ones we use today.
Best Crystals to Polish with the Sandpaper: Amethyst, Agate, Carnelian, Obsidian, and Quartz.
Supplies
- Sandpaper Grits: What sandpaper should I use to polish my crystals?
- 80 for Rough Spots
- 220 for Shaping
- 400 for Smoothening
- 600 for shine
- 1000 for smoothness and shine
- Container: Size according to the crystal.
- Water: Enough to keep the crystal immersed in the above container.
- Microfiber Cloth: Large enough to wrap the crystal
How To Use Sandpaper for Polishing Gemstones?
- Place the crystal in the water container.
- Press it firmly.
- Start sanding the crystal in circular motions with a low grit, such as 80 or 220.
- Once the spots and erratic edges are smoothened, increase the grit to 400.
- Once the crystal is smooth, increase the grit to 600.
- Once the crystal is shiny, try finer grits.
- Clean your crystal to remove dust and debris.
Olive and Coconut Oils
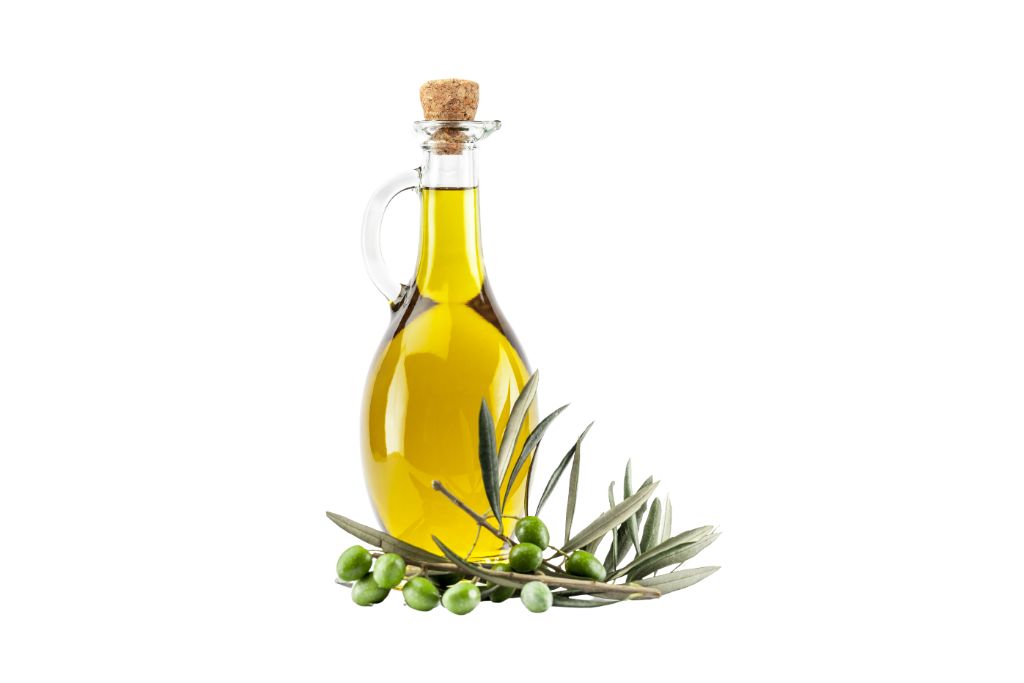
An ancient technique for polishing crystals without power tools or abrasive papers, this is a way to buff the physical traits of your stone. After hand polishing or tumbling, you can also oil-polish your stone as a finishing step.
Best Crystals to Polish with Oil: Amethyst, Citrine, Clear Quartz, Smoky Quartz, Calcites, Agates, Fluorites, and Rose Quartz.
Supplies
- Soft Cloth
- Toothbrush
- Container with Oil
- Dropper
How To Use Oils for Polishing Crystals?
- Clean your crystal with lukewarm water.
- Add a few drops of olive or coconut oil to your crystal.
- Spread it with your finger or a toothbrush in circular motions.
- Repeat the process until the oil is absorbed over your gemstone.
- Clean with a soft cloth once the crystal is shiny and start using it!
Diamond Polishing Pads
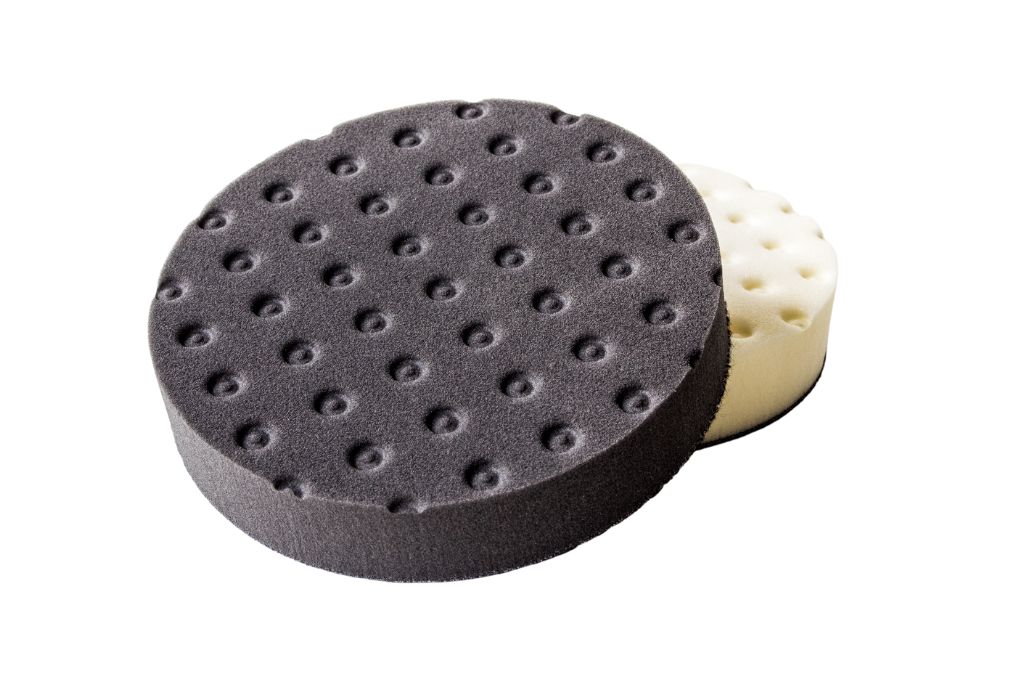
Harder crystals with Mohs hardness above 7 can be polished with diamond pads. They’re good for getting your dull stone a professional shine and smoothness.
Best Crystals to Use with Diamond Polishing Pads: Topaz, Spinel, Marble, Ruby, Granite, Tourmaline, Garnet, and Zircon.
Supplies
- Water
- Container
- Soft Cloth
- Tooth Brush
- Diamond Polish Pads (with different Grits)
- 50 for Grinding
- 100 for Rough Spots
- 200 for Shaping
- 400 for Smoothening
- 800 for Prepping the Surface
- 1500 for (removing) Scratches and Shine
- 3000 for High Shine
How To Use Diamond Polishing Pads on Crystals?
- Clean and prepare the crystal.
- Place it in the water container and press it gently.
- Start with a low grit of 50 or 100 and move on to 200.
- Wet the diamond polishing pad.
- Move the pad in circular motions to polish different sides.
- Once the spots and erratic edges are smoothened, increase the grit to 400.
- Once the crystal is smooth, increase the diamond polishing pad grit to 800.
- Once the crystal is shiny, use a finer grit to remove any remnant scratches.
- Clean your crystal to remove dust and debris.
- Wash and dry with a soft cloth!
Banana Peel
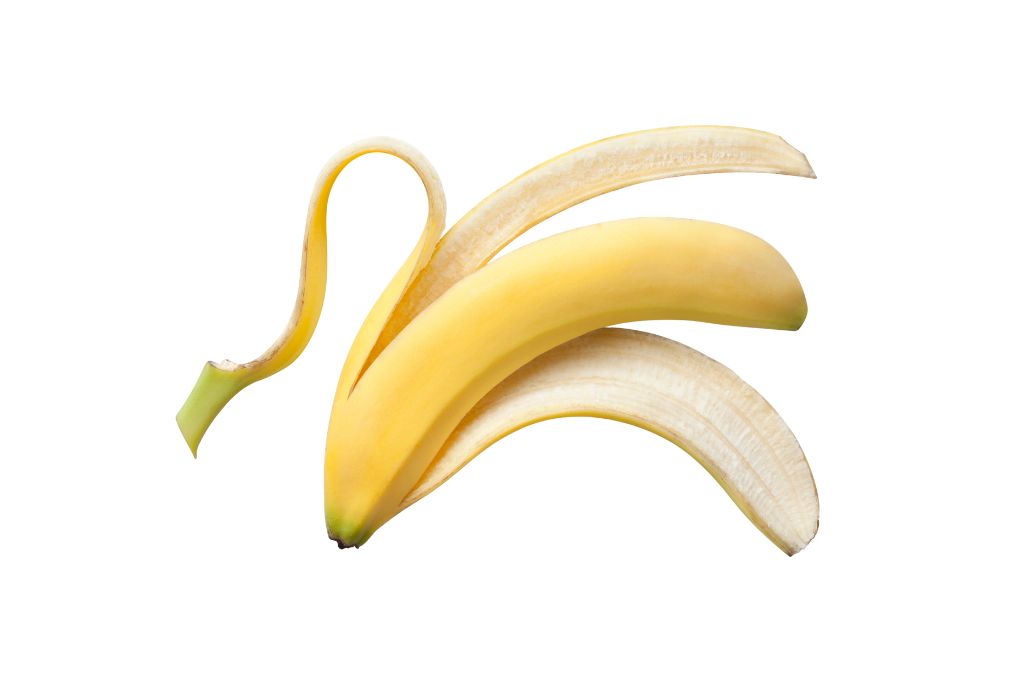
Mostly used for removing stains, pigmentation, and debris from clusters, geodes, and nodules, banana peels are an ancient technique for removing all kinds of residues from a raw stone. It can also be used with other techniques to polish gemstones without power tools.
Best Crystals to Polish with Banana Peel: Hematite, Amethyst, Magnetite, Citrine, Lepidolite, Malachite, Azurite, and Opal.
Supplies
- Ripe Bananas
- Soft Cloth
- Container
- Water
How To Use Banana Peel for Polishing Gemstones?
- Eat the banana (unless you’re not allowed to) and save the peel.
- Clean the crystal from dust or debris.
- Place your stone in the container.
- Place the white side of the banana peel on your crystal and press it gently.
- Circle the peel in different areas of your rough stone.
- Continue until the crystal becomes shiny and smooth.
- Wash with lukewarm water and dry the polished crystal with a soft cloth.
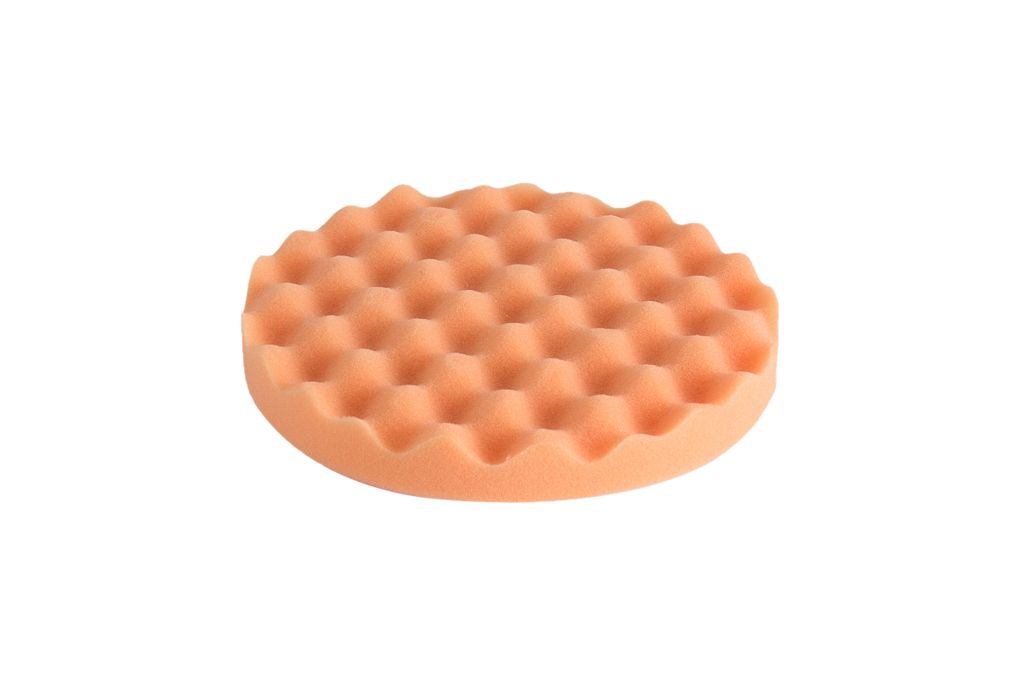
Polishing Compounds
You can polish healing crystals without special equipment or tools but with a compound, paste, or DIY polishing solution. It’s also a safe polishing technique that’s gentle on your precious gemstone. Use it after tumbling your stone.
Best Crystals to Polish by Hand: Amethyst, Moonstone, Lepidolite, Turquoise, Opal, Azurite, Hematite, Malachite, and Chrysocolla.
Supplies
- Polishing Compounds, Pastes, or Solutions
- Felt Pad
- Toothbrush
- Soft Cloth or Rag
- Water
- Container
How To Polish Gemstones by Hand?
- Clean the dust, dirt, and debris from your crystal.
- Apply a pea-sized amount of your polishing paste on the stone.
- Spread it around with a soft cloth, rag, or toothbrush in circular motions.
- Clean the stone in between and continue buffing the crystal.
- Once your stone is smooth and shiny, clean it with a lint-free cloth.
Vinegar and Salt
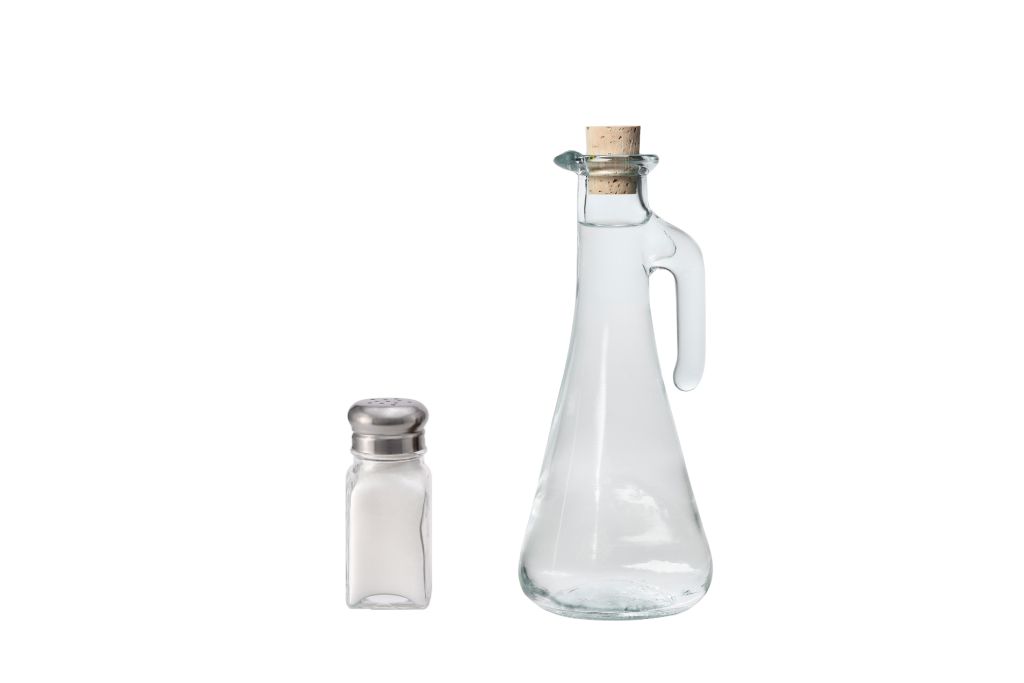
This is another home remedy for beginners with stained or discolored gemstones. You don’t need any power tools or electricity to polish crystals this way. It’s safe to use with a lot of crystals. Vinegar and salt may increase the shine of a crystal.
Warning: Check if your crystals are salt-safe before polishing them with vinegar and salt.
Best Crystals to Polish with Vinegar and Salt: Rose Quartz, Celestite, Amethyst, Calcite, Malachite, and Rhodonite.
Supplies
- White Vinegar
- Rock Salt or Himalayan Pink Salt
- Soft Cloth
- Soft-Bristled Brush
- Water
- Container
How To Polish with Vinegar and Salt?
- Clean your crystal to remove dirt and grime.
- Mix equal amounts of vinegar with water to make a paste.
- Apply the paste on your crystal to cover its surface.
- Let it sit for 5 to 10 minutes.
- Use a cloth or soft-bristled to buff the stone in circular motions.
- Clean and dry the stone with a soft cloth.
Japanese Stone Polishing Technique
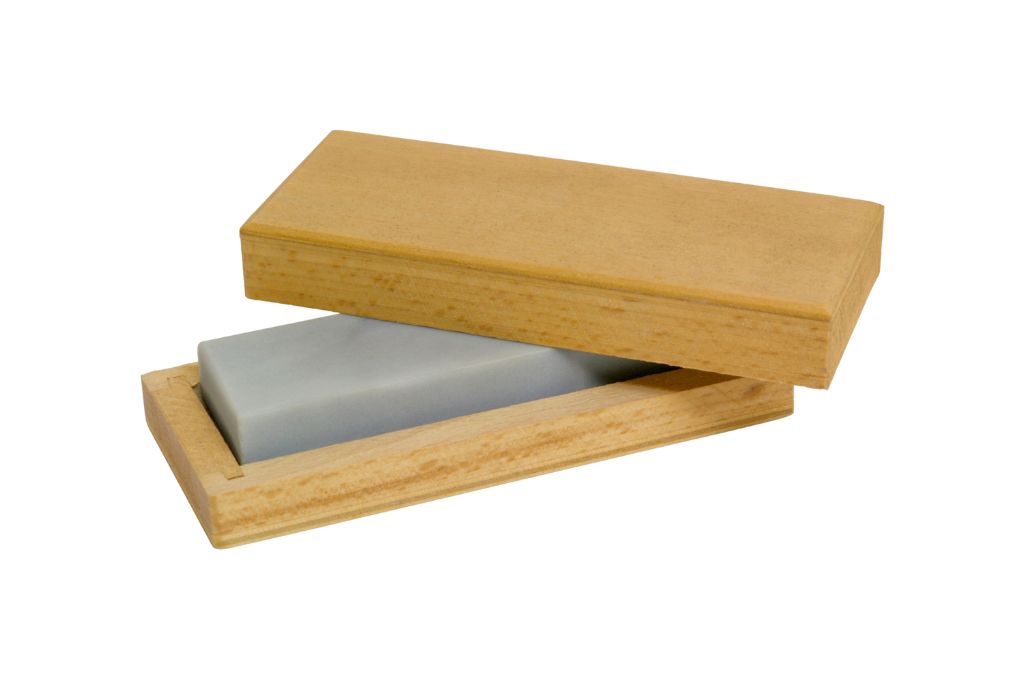
You go from coarse to fine grits in the Japanese Polishing Technique, and it’s an exhaustive process. It’s great for removing flaws and scratches on the surface of most stones. It may even enhance natural colors and patterns.
Note that sandstone polishing is yet another hand-polishing technique, using abrasive stones to polish other gems.
Best Crystals for Japanese Polish: Petrified Wood, Types of Jasper, Sodalite, Turquoise, Lepidolite, and Rhodonite.
Supplies
- Sharpening Stone Grit
- 200 for Rough Edges
- 400 for Rough Spots
- 600 for Smoothening
- 800 for Shine
- 1000 for Scratches
- 1200 for Blemishes
- 1500 for Enhancing Patterns
- 2000 for Enhancing Natural Colors and Patterns
- Water
- Container
- Soft Cloth
How To Do the Japanese Stone Polishing Method?
- Clean and prepare your crystal.
- Start from a coarse grit, like 200 or 400, to buff your gemstone in circular motions with the abrasive stone.
- Once your stone is smooth, move toward finer grits, like 600.
- Continue the same process with an abrasive stone of 2000 grit.
- Keep wetting the stone while polishing it this way.
- Clean and wipe away the debris with a soft cloth and your stone is ready!
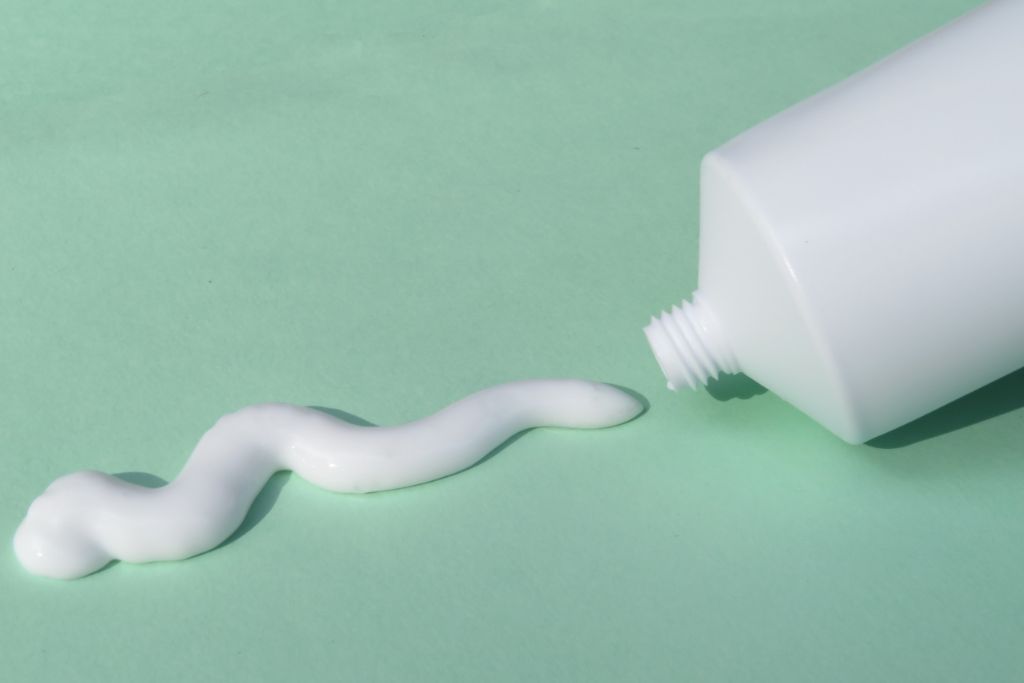
Toothpaste for Polishing Gems
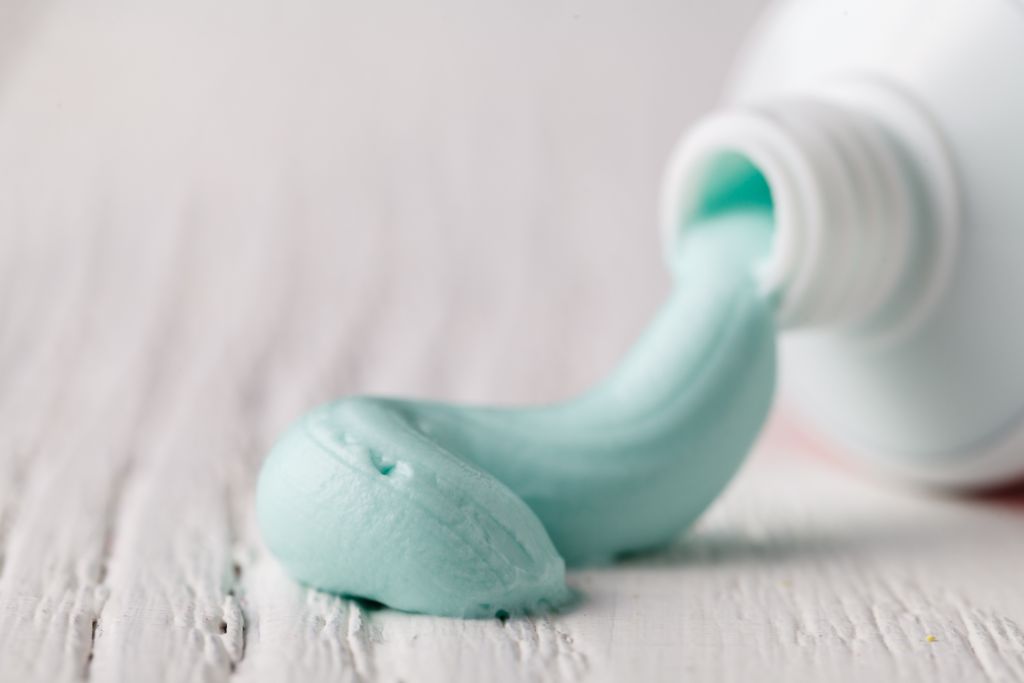
Often used to enhance the natural luster of a stone, toothpaste is also a common home remedy that is safe for most crystals. It’s good to remove stains and make the natural facets of your crystals shine more. Use it after using other polishing techniques as a last step.
Best Crystals to Polish with Toothpaste: Carnelian, Calcite, Labradorite, Smoky Quartz, Lapis Lazuli, Amethyst, Citrine, and Clear Quartz.
Supplies
- Toothpaste (don’t use whitening or gel-type toothpaste)
- Soft Cloth
- Toothbrush
- Water
- Container
How To Polish Stones with Toothpaste?
- Clean and moisturize your crystal with tap water.
- Cover the crystal with toothpaste.
- Spread the toothpaste on the crystal with a soft-bristled brush.
- Continue buffing the stone with the brush in circular motions.
- Clean and dry your gemstone with a dry cloth.
Dremel

This is a rotary tool often used by beginners, amateurs, and professionals for polishing stones at home. It’s a good investment for rock hounds and crystal lovers. You can use it to buff rough stones and polish them to a shiny luster.
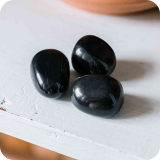
Best Crystals to Polish with Dremel: Tiger’s Eye, Onyx, Labradorite, Tourmaline, Obsidian, and Quartzes.
Supplies
- Dremel
- Polishing Bits
- Water
- Large Container
- Rotary kit
- Soft Cloth
How To Polish Stones With a Dremel?
- Clean your crystal and prep it for polishing.
- Wet your gemstone and the polishing bit.
- Connect your Dremel with the rotary kit.
- Move the Dremel in circular motions to smoothen rough sides and surfaces.
- Clean the stone with lukewarm water.
- Dry it with a soft cloth.
Baking Soda, Coffee Grounds, and Flour
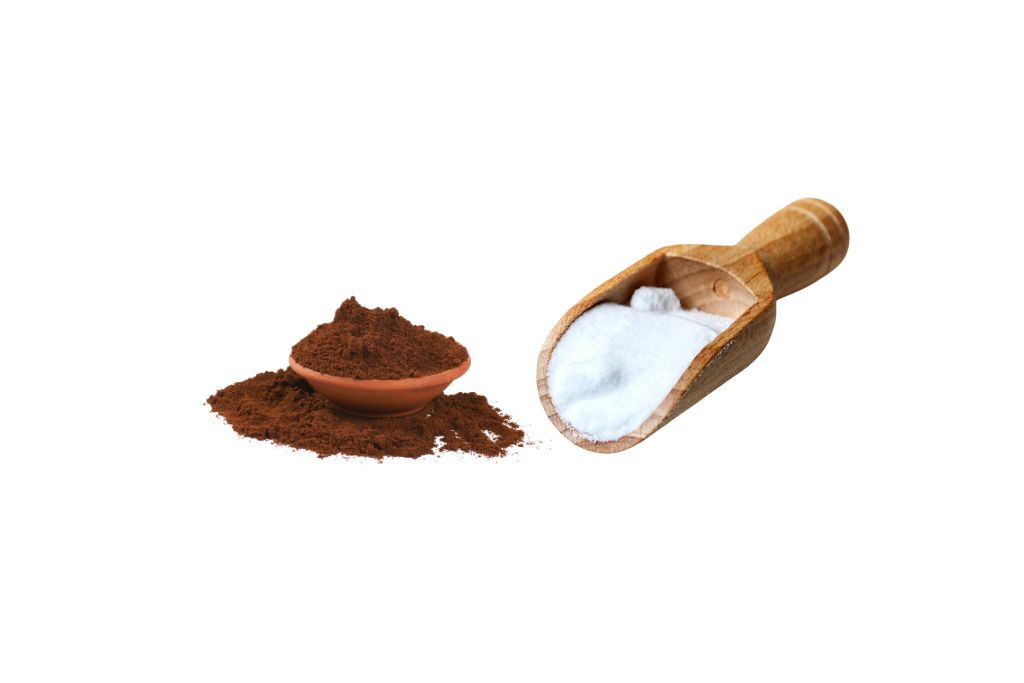
Another home remedy for buffing rough crystals to enhance their shine and luster, this technique is safe for most crystals and has been used for eons. It’s great to remove blemishes and scratches on the surface of most crystals.
I suggest using this polishing compound for rocks after tumbling and hand polishing.
Best Crystals to Polish with Baking Soda, Coffee Grounds, and Flour: Lapis Lazuli, Obsidian, Carnelian, Shungite, and Snowflake Obsidian.
Supplies
- 250 ml Plastic Cup
- Baking Soda
- Coffee Grounds
- All Purpose Flour
- Toothbrush
- Water
- Soft Cloth
How To Use Baking Soda, Coffee Grounds, and Flour for Polishing Gemstones?
- Clean and wet your stone.
- Add equal parts of baking soda, coffee grounds, or all-purpose flour and water.
- Stir it well to make a paste.
- Smear the paste on your crystal from all sides.
- Using circular motions on all sides of your gemstone with a soft-bristle toothbrush.
- Rinse with water.
- Dry with a soft cloth.
Polishing Wheel
This is not an option for beginners and inexperienced people because it uses power tools and machines. Please don’t try polishing wheels without training or supervision. They can be hazardous if you’re not careful because the wheels spin at extremely high speeds.
Did you know polishing wheels have been used since prehistoric times?
It’s perfect for polishing small crystals with intricate patterns and color variations and for a shiny, scratch-free surface. If you’re polishing crystals this way, you don’t need other tools or techniques.
Best Crystals for the Polishing Wheel: Citrine, Clear Quartz, Labradorite, Amethyst, Rose Quartz, Tourmaline, and Smoky Quartz.
Note: Don’t use them on Calcite, Fluorite, and Selenite.
Supplies
- Polishing Paste
- Polishing Wheel
- Rotary Tool or Bench Grinder
How To Use a Polishing Wheel on Crystals?
- Clean your crystal.
- Attach the polishing wheel to your rotary or grinder tool.
- Apply the polishing paste to the wheel.
- Wet your stone.
- Polish in circular motions.
- Take frequent breaks and keep the stone wet throughout the process.
- Clean and dry the stone with a cloth once you’re done.
Beeswax
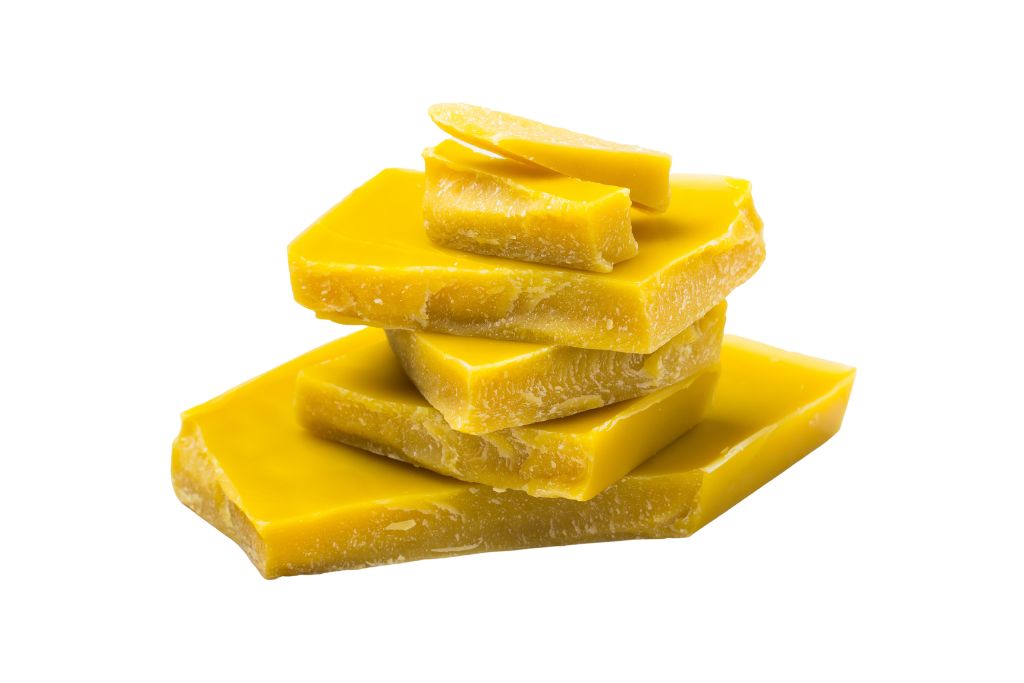
A natural polishing agent used for ages, beeswax is often used with other polishing techniques. But this is the safest and easiest way to make your crystal shine. It’s also good for removing scratches and flaws from the surface, especially due to natural wear and tear.
Fun Fact: Beeswax is also used to enhance the appearance of leather, wood, and metal.
Best Crystals to Polish with Beeswax: Turquoise, Petrified Wood, Rhodonite, Picture Jasper, and Selenite.
Supplies
- Beeswax
- Soft Cloth
- Toothbrush
- Double Boiler or Microwave
- Buffing Wheel
How To Use Beeswax for Polishing Gemstones?
- Melt your beeswax in a heat-safe container.
- Once it’s not scalding hot, apply it to the crystal.
- Buff it with a toothbrush, soft cloth, or a polishing wheel.
- Continue until you’re happy with the smoothness and shine.
- Clean the gemstone with a soft and absorbent cloth before using it.
Polishing Cloth
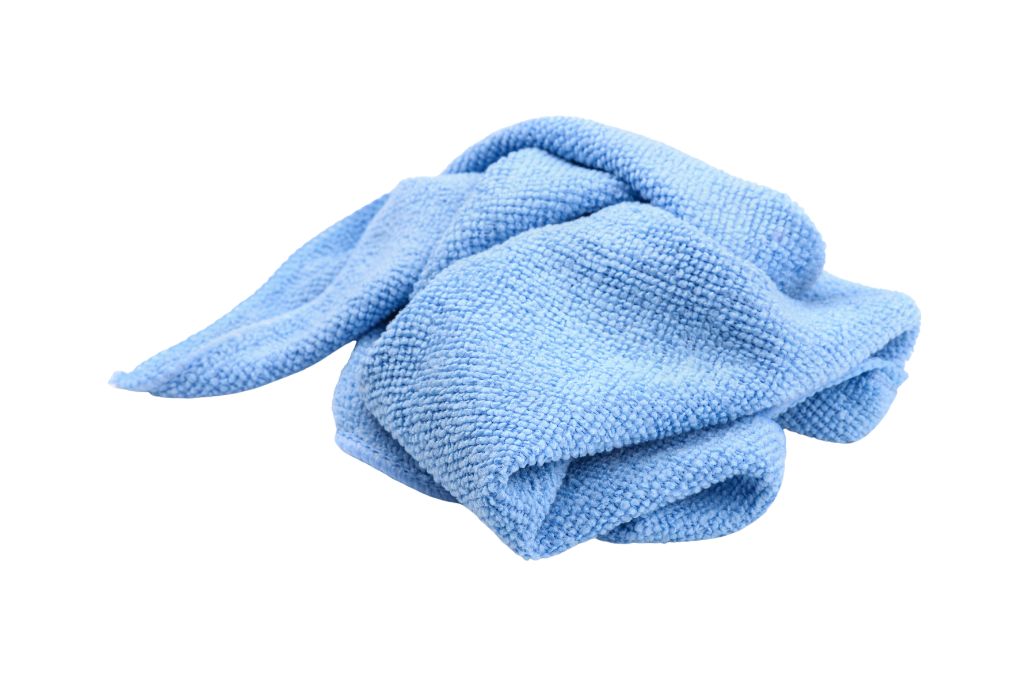
A must-have for every person with gemstones and jewelry, jewelry polishing cloths come preset with polishing pastes. You can easily buff with your hand for lasting shine every few months.
Best Crystals with Polishing Cloth: Malachite, Lapis Lazuli, Moonstone, Turquoise, and Moonstone.
Supplies
- Polishing Cloth
- Polishing Paste
- Soft Cloth
- Toothbrush
- Wet Wipe
How To Use Polishing Cloth on Gemstones?
- Dip your polishing cloth in the paste.
- Buff your healing crystal with circular motions using the cloth.
- Make sure to be gentle at the start.
- Keep cleaning the stone with a clean cloth or wet wipe.
- Clean with a soft cloth once your stone is sufficiently smooth and shiny.
Warning: Look for a polishing cloth that is not abrasive but wax-treated. Avoid polishing paste or compound if your cloth is preset with the right solutions.
Sand and Water
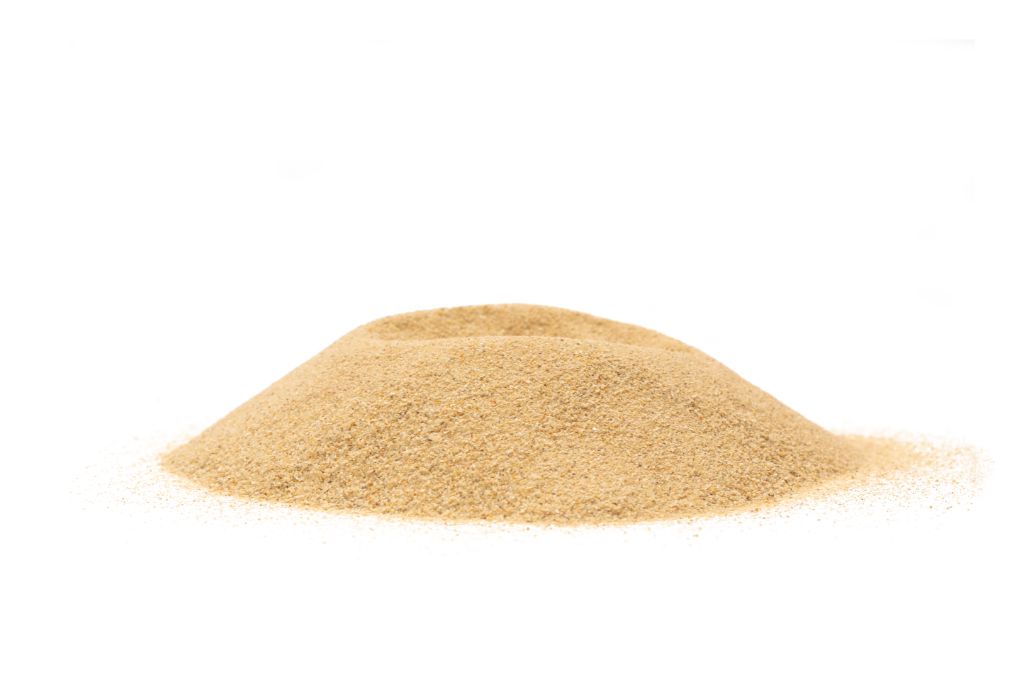
Did you know Ancient Greeks and Egyptians used sand and water for polishing stones? It’s ideal after diamond polishing or using sandpaper, especially if you want to polish crystals without tools. Using it as a last technique is best if you’re tumbling already.
Best Crystals to Polish with Sand and Water: Garnet, Hematite, Fluorite, Rhodonite, and Amazonite.
Supplies
- Sand (Fine-Grit)
- Water
- Microfiber Cloth
- Soft Cloth
- Large Container
How To Use Sand and Water for Polishing Stones?
- Clean your crystal and prep it.
- Wet the crystal.
- Cover the surface of the crystal with fine grit sand.
- Rub the sand onto the crystal in circular motions.
- Rinse with tap water once you’re done, and dry it with a soft cloth.
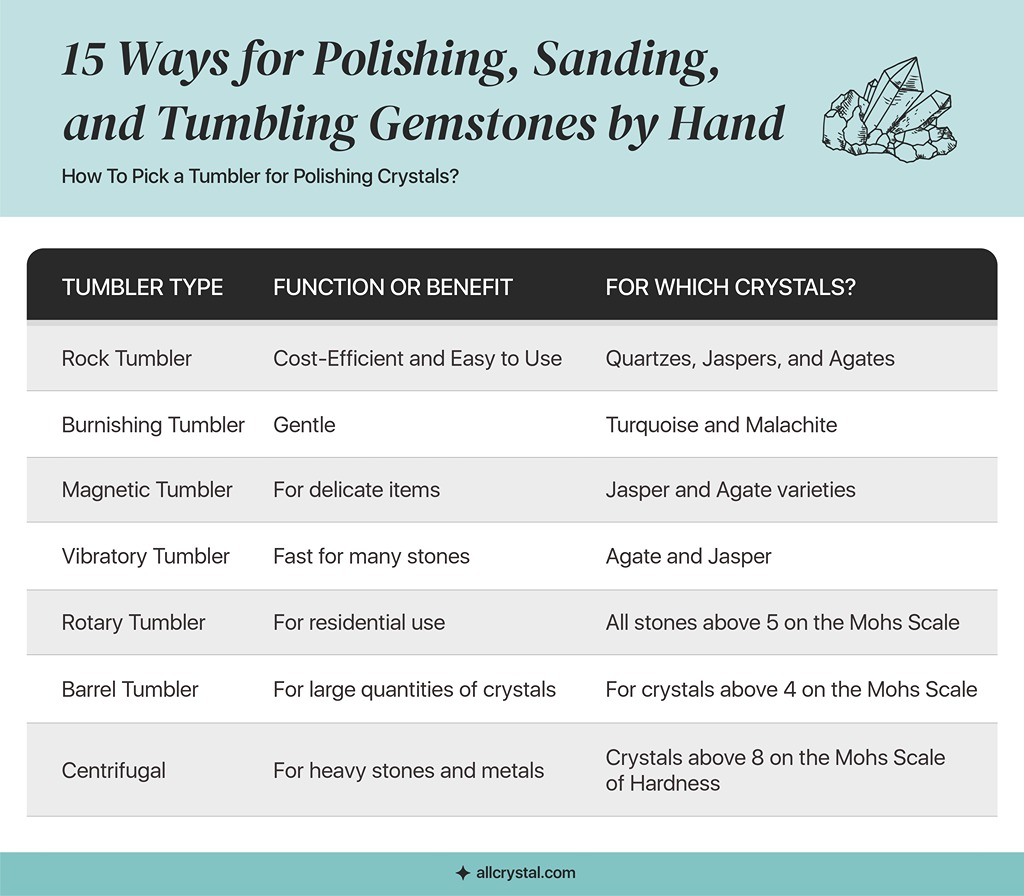
How To Pick a Tumbler for Polishing Crystals?
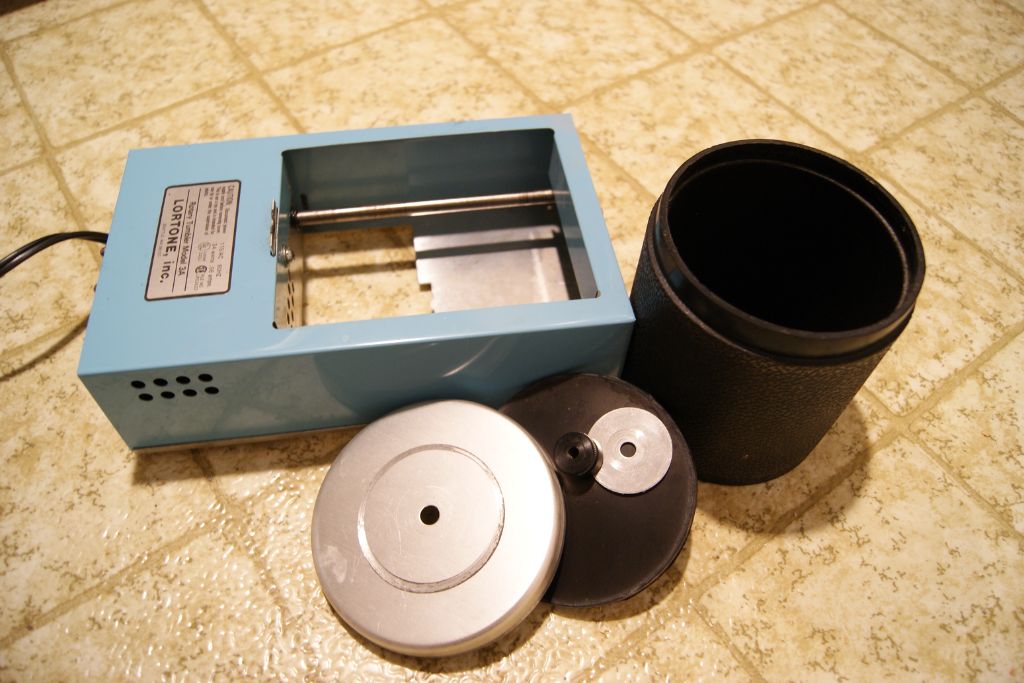
Here’s a list of seven types of tumblers and crystals you can polish with them.
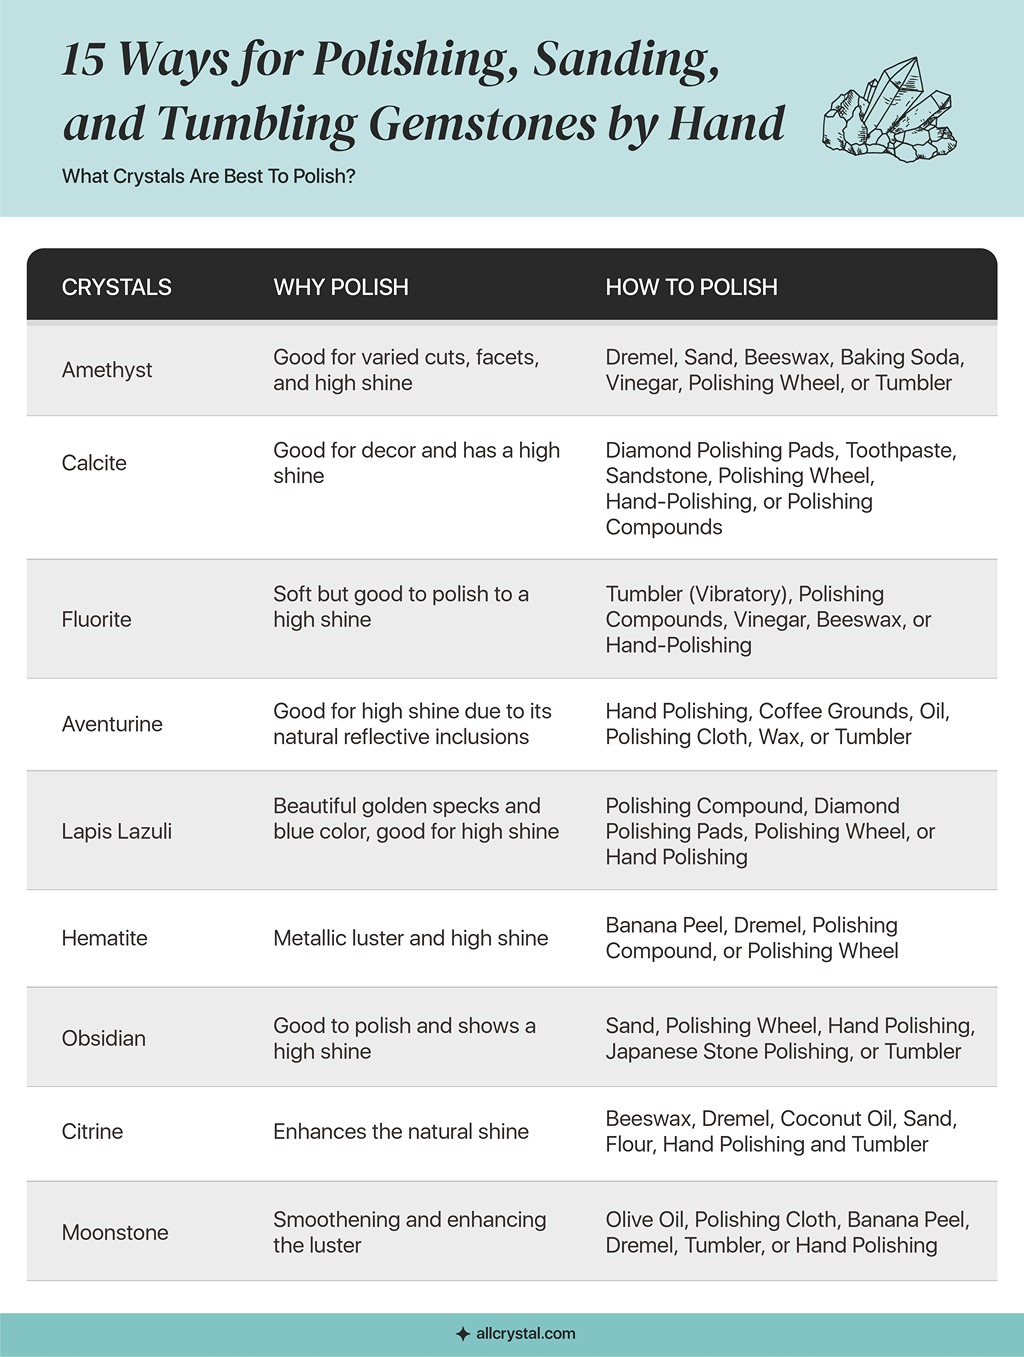
What Crystals Are Best To Polish?
Which Crystals Can’t Be Tumbled?

FAQ
- Can I polish all the stones?
No, not all gemstones and crystals are good for polishing at home. Softer stones, like Calcite, Selenite, and Fluorite crystals, aren’t usually tumbled by machines or abrasive objects. Check online if your stone is compatible with the polishing method before starting.
- How do I make polished rocks shiny?
To make polished rocks and crystals shiny, you can buff them using olive or coconut oil, or buff them with a polishing cloth or compound, often including Cerium Oxide.
- How often should I polish my crystals?
You should polish crystals every 3 months. If your crystal is unpolished, it’s good to polish it a few times at the start.
- Is there a risk of damaging them if I polish them too frequently?
Yes, over-polishing real gemstones lead to loss of shape, optical features, colors, patterns, and luster. Sometimes, polishing your gemstone too much at home can lead to cracking, chipping, or weakening.
- How To Polish Quartzes?
Quartz crystals score 7 on the Mohs scale of hardness, so you can polish them with rock tumblers or a polishing wheel. If you want to polish without power tools, use a polishing cloth, sand, sandpaper, vinegar, salt, baking soda, coffee grounds, and flour.
Start Polishing Crystals and Gemstones Easily at Home!
Polishing crystals and stones go back hundreds of thousands of years. It began with polishing metals with natural abrasives and buffer oils for decorative objects and jewelry.
From the 15th to the 19th century, the jewelry or lapidary industry saw new techniques blend with older methods of gemstone polishing. Today, there are colossal computer-controlled machines for polishing crystals with extreme precision using lasers.
If you want to polish crystals at home, try oils, beeswax, vinegar, baking soda, flour, coffee grounds, sand, sandpaper, banana peel, toothpaste, or polishing cloth. Get a polishing wheel, grinder, or rock tumbler if you’re serious about polishing crystals.
Gain an understanding of the distinctions and overlapping characteristics between tumbled and raw crystals.
Which is your favorite method of polishing crystals? We’d love to know how you do it!