- Growing My Own Crystals
- Basics of Growing Crystals at Home
- How To Grow Amethyst-Colored Crystals at Home?
- How To Grow Geode Crystals at Home?
- How To Grow Blue Crystals at Home?
- How To Grow Green Crystals at Home?
- How To Grow Color-Changing Crystals at Home?
- How To Grow a Salt Garden or Halite Crystal at Home?
- Safety and Tips for Growing Crystals at Home
- Conclusion
Making crystals at home can be an incredibly captivating project. This process allows you to witness firsthand the stunning structures nature can create, all from the comfort of your home.
So, how does one grow these brilliant formations at home? Is it easy and safe to do so?
Growing crystals at home can be straightforward and safe. With careful preparation and the right materials, anyone can create crystals.
The key is understanding the basic process, following safety guidelines, and cultivating patience, as growing impressive crystals can take time. This process involves dissolving a substance in hot water to create a solution, which, as it cools, allows the formation of crystals.
Read on to discover the fascinating science behind crystal growth and a step-by-step guide to creating your at-home crystal garden!
Growing My Own Crystals
My partner’s ten-year-old sister got one of these crystal-growing kits last Christmas. Super amazed, I convinced her to let me help her grow the crystals, as the thought of growing crystals was reawakening my inner child!
We set up the kit, poured some water into some of the powders, and viola, to my surprise, a few days later, crystals had grown! I felt pretty badass growing these crystals, like I was some divine crystal-growing goddess or Mother Gaia herself!
Basics of Growing Crystals at Home
Before embarking on the task of growing your own crystals at home, it’s crucial to learn about a few general guidelines for safety and set appropriate expectations.
Safety should always come first when cultivating crystals. Although many crystals can be grown using harmless substances, like sugar or salt, others require chemicals that must be handled carefully.
When handling hot solutions or chemicals, it’s a good idea to wear gloves and eye protection and ensure your working area has sufficient ventilation if working with substances that emit fumes.
Locating the ideal location to grow crystals is essential. Your crystals should have time and space to develop safely without disturbance from pets or children who might try to reach into them. This area should also be cool without direct sunlight.
How To Grow Amethyst-Colored Crystals at Home?
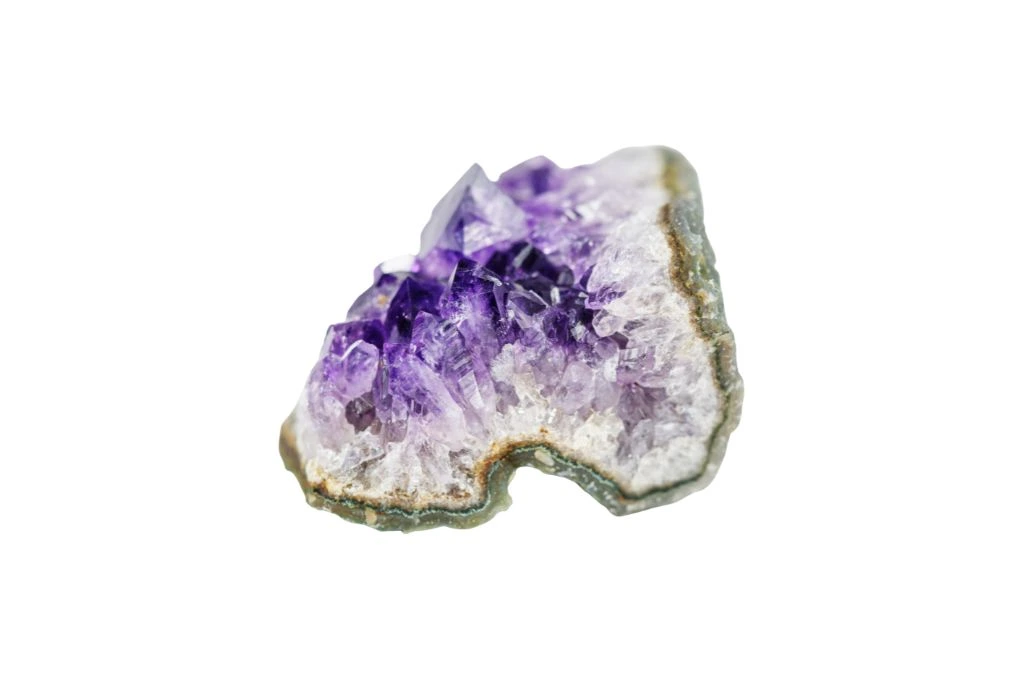
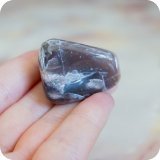
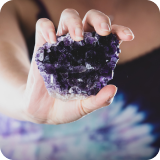
Amethyst is a stone that promotes calmness, equilibrium, and peace. True Amethysts can only form under specific geological conditions over an extensive period. However, we can grow crystals resembling Amethyst stones.
The following experiment involves handling alum powder. Adult supervision is advised.
Materials and Ingredients
- Alum powder (Potassium Aluminum Sulfate)
- Hot water (not boiling)
- Two clean glass jars
- Measuring cup and spoon
- Purple food coloring
- Plastic or wooden spoon for stirring
- Pipe cleaners
- String
- Pencil or popsicle stick
Preparation
- Shape your pipe cleaners into a desired shape.
- Attach the pipe cleaner to a string, and tie the other end of the string to a pencil or popsicle stick.
- Pre-dissolve some alum powder in a cup of hot water. Stir until no more alum can be dissolved.
How To Grow Purple Crystals?
- Pour your pre-dissolved alum solution into a clean glass jar.
- Add a few drops of purple food coloring to your solution until you get your desired shade of Amethyst. Stir the solution gently.
- Lower your pipe cleaner into the solution, ensuring it’s fully submerged and not touching the sides or bottom of the jar.
- Leave the jar undisturbed in a cool, safe place.
- You should start to see crystal growth within a few hours to a few days.
Aftercare and Use
Once your crystals have grown to a size you’re happy with, gently remove them from the solution. Allow them to dry in a safe place. Be careful when handling your crystals, as they can be fragile.
Remember to keep them out of direct sunlight to prevent the color from fading and away from humidity, which would dissolve the crystals over time.
How To Grow Geode Crystals at Home?
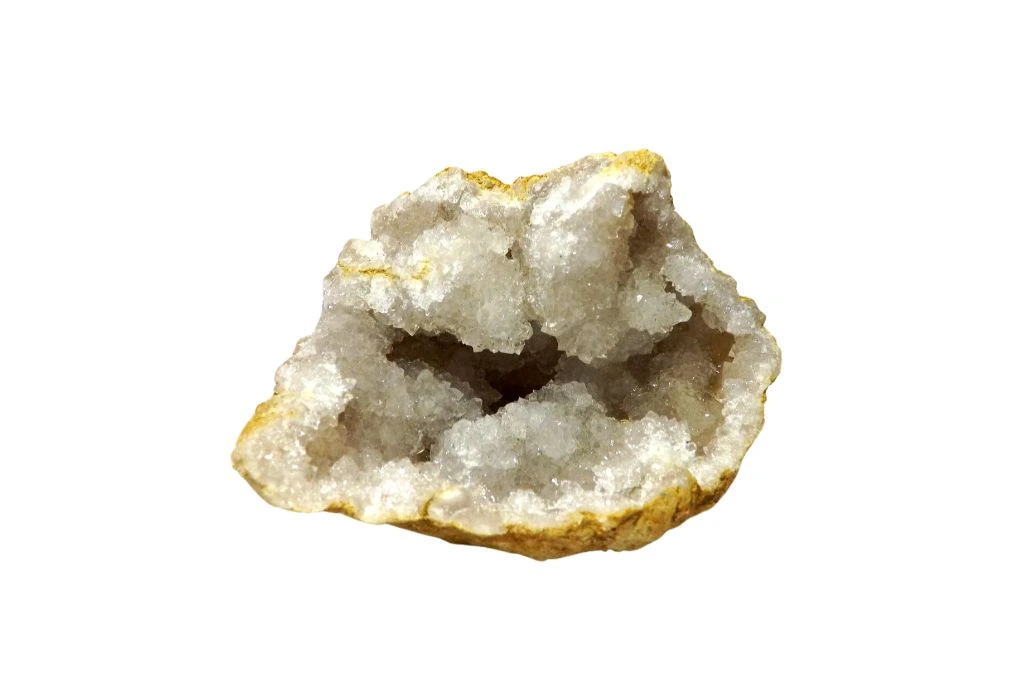
At first glance, Geodes might look like ordinary rocks, but once broken open, you’ll discover an array of crystals inside! While geodes are formed naturally over centuries under specific environmental conditions, we can reproduce their formation at home.
Materials and Ingredients
- Clean eggshells (you can also use a clear plastic or glass container for a different shape)
- Alum powder (Potassium Aluminum Sulfate)
- White glue
- Hot water (not boiling)
- Food coloring (choose any color you like)
- Two clean glass jars
- Measuring cup and spoon
- Plastic or wooden spoon for stirring
- Tweezers or tongs
Preparation
- Carefully crack your eggs in half and remove the contents. Rinse out the inside of the shell halves and let them dry.
- Once dry, cover the inside of each shell half with a thin layer of white glue.
- While the glue is still wet, sprinkle a generous amount of alum powder onto the glue. Make sure to fully cover the glue with alum. Let this dry overnight.
How To Grow Geode Crystals?
- The next day, dissolve alum powder in a cup of hot water. Stir until no more alum can be dissolved.
- Add a few drops of food coloring to your solution until you get your desired shade. Stir gently.
- Using tweezers, place your prepared eggshells (glue side up) into the empty glass jar. Carefully pour your colored alum solution over the eggshells until fully submerged.
- Leave the jar undisturbed in a cool, safe place. The crystal formation should begin within a few hours to a few days.
Aftercare and Use
Once your geode crystals have grown to your liking, carefully remove the eggshells from the solution using tweezers. Allow the crystals to dry completely in a safe place. Handle them with care, as the crystals can be quite fragile.
Like natural geodes, each one will be unique in its formation and coloring.
How To Grow Blue Crystals at Home?
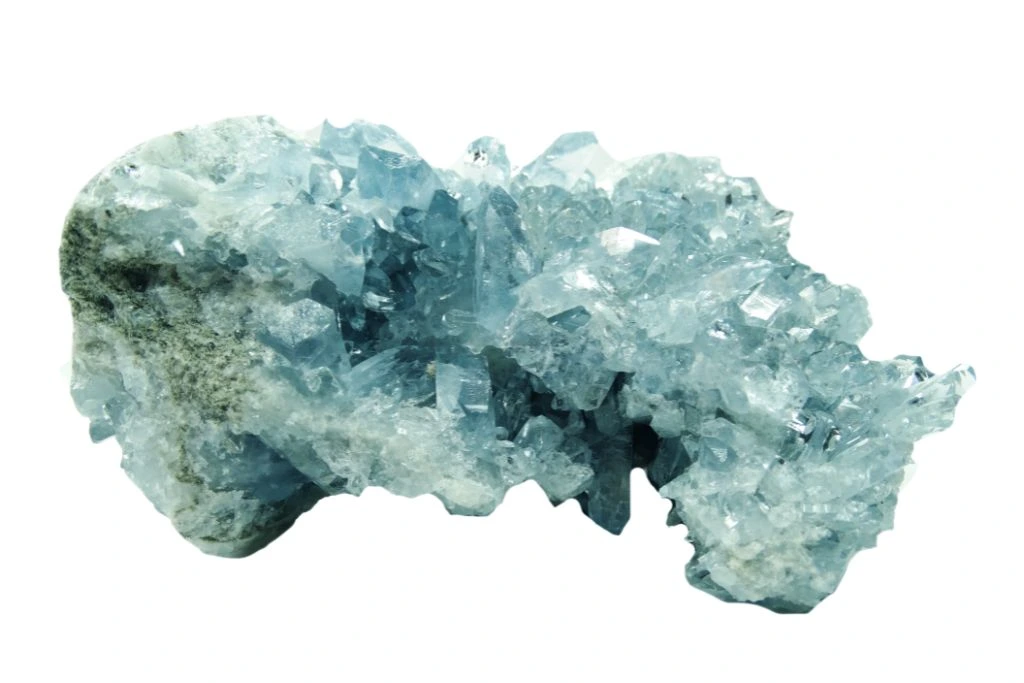
Blue crystals, with their cool, calming hue, can bring a touch of tranquility to your home. In this section, I will teach you how to grow copper sulfate crystals with a stunning blue color.
Copper sulfate is a chemical compound that should be handled carefully, particularly around children and pets.
Materials and Ingredients
- Copper sulfate
- Hot water (not boiling)
- A clear glass or plastic container
- Spoon for stirring
- Safety glasses and gloves
- Seed crystal or piece of thread (optional)
Preparation
- Begin by putting on your safety glasses and gloves.
- Add hot water to your container, then gradually add copper sulfate, stirring until no more can be dissolved.
How To Grow Blue Crystals?
- Once your solution is ready, let it cool for about 20 minutes.
- If you want to grow a larger, single crystal, you can suspend a seed crystal or a piece of thread in the solution.
- Leave the container in a safe, cool place to remain undisturbed.
- Over the next few days or weeks, you’ll notice beautiful blue crystals forming in your container.
Aftercare and Use
When your crystals are ready, gently remove them from the container with a spoon and allow them to dry on a paper towel.
Remember to safely store your crystals out of children or pets’ reach due to copper sulfate’s hazardous chemical nature.
How To Grow Green Crystals at Home?
Green crystals symbolize serenity and renewal. In this guide, I will show you how to cultivate Potassium Ferrioxalate crystals, which form stunning monoclinic structures in emerald-green color.
This experiment involves hazardous materials that must be handled carefully. Protective gloves and eyewear must always be worn during this activity.
Materials and Ingredients
- Potassium Ferrioxalate
- Distilled water
- A clean glass container or jar
- Plastic or wooden spoon for stirring
- Safety glasses and gloves
- Crystal growing dish
- Seed crystal or piece of thread (optional)
Preparation
- Use your safety glasses and gloves to protect your eyes and skin.
- Dissolve Potassium Ferrioxalate in a glass container with distilled water.
- Stir the mixture until it becomes saturated.
How To Grow Green Crystals?
- Once your solution is prepared, pour it into your crystal-growing dish.
- Leave the dish undisturbed in a cool, safe place. Make sure it’s out of direct sunlight, as exposure can lead to fading of the green color.
- Over time, crystals will start to form in the dish.
- You can introduce a seed crystal or a piece of thread into the solution for bigger crystals.
Aftercare and Use
Once your crystals have grown to your satisfaction, carefully remove them from the dish and allow them to dry.
Remember, while this experiment is a fun and educational experience, safety should always be a priority. Always wear protective gear and handle chemicals responsibly.
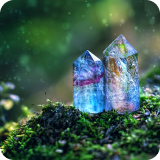
How To Grow Color-Changing Crystals at Home?
Growing color-changing crystals is incredibly fun! Seeing a rainbow of crystals appear over time in your experiment is one of the most fun crystal-growing experiences. Let’s explore how to grow color-changing crystals with thermo-chromatic pigment.
Materials and Ingredients
- Thermo-chromatic pigment (available online or in craft stores)
- Clear school glue or epoxy resin
- A mold for your crystal shape (silicone molds work well)
- Stirring sticks
- Gloves for safety
Preparation
- Put on your gloves to protect your skin.
- Mix a generous amount of thermo-chromatic pigment with your clear school glue or epoxy resin.
- Stir until the pigment is thoroughly mixed into the glue or resin.
How To Grow Color Change Crystals?
- Once your mixture is prepared, pour it into your chosen mold.
- Leave the mold undisturbed in a safe place to allow the glue or resin to dry.
- Remove your crystal from the mold once the glue or resin has completely hardened.
Aftercare and Use
Handle your color-changing crystals with care to maintain their quality.
The crystals can also make a unique gift, adding a personal and magical touch. It’s a creative, scientific, and rewarding project that can be fun to teach kids.
How To Grow a Salt Garden or Halite Crystal at Home?
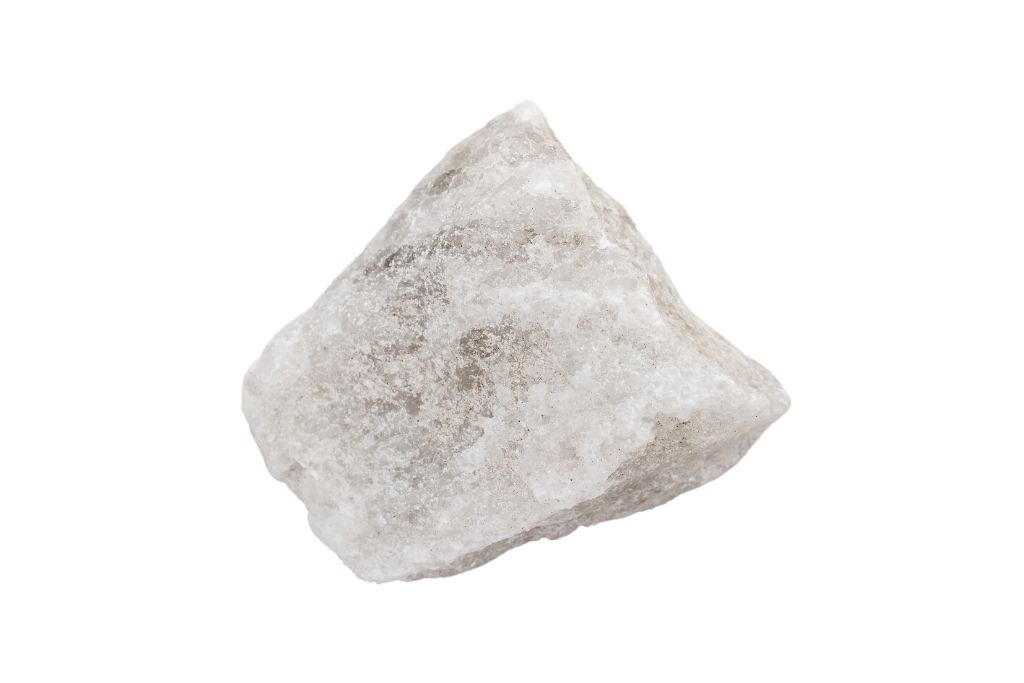
The crystal world isn’t limited to gemstones and minerals. Everyday table salt can also form beautiful shimmering crystals. Halite (rock salt) forms stunning cubic crystal structures. Using this simple, safe experiment, I will show you how to grow a Salt Garden of Halite Crystals right at home.
Materials and Ingredients
- Table Salt (Sodium Chloride)
- Water
- A clear glass or plastic container
- A piece of string (for larger crystals)
- A pencil or popsicle stick (for larger crystals)
- Food coloring (optional for colored crystals)
Preparation
- Dissolve a large amount of table salt in a cup of warm water. Stir until no more salt can be dissolved.
- For larger crystals, tie one end of the string to the middle of the pencil or popsicle stick. Ensure the string is long enough to hang into the container without touching the sides or the bottom.
How To Grow Salt Garden or Halite Crystals?
- If you want to grow larger, single crystals, dip the string in the solution so that it’s completely submerged but not touching the sides or bottom of the container, and rest the pencil or popsicle stick on top of the container.
- If you prefer to grow a “garden” of smaller crystals, you can simply pour your solution into the container and leave it.
- For colored crystals, add a few drops of food coloring to your solution.
- Place your container in a safe, cool place where it won’t be disturbed.
- Over the next few days to weeks, you will start to see the salt crystals forming.
Aftercare and Use
Once your salt crystals have grown to your satisfaction, they can be carefully removed from the container and left to dry. Be cautious, as they can be quite delicate.
Safety and Tips for Growing Crystals at Home
- Always grow crystals in a well-ventilated area to avoid inhaling any fumes.
- Wear protective clothing, including gloves and safety glasses, when handling chemicals.
- Keep all chemicals and experiments out of reach of small children and pets.
- Always clean up your workspace after each experiment to avoid contamination.
- Some experiments may require adult supervision.
- Remember to be patient, as crystal growth can take days or even weeks.
- Experiment with different colors and shapes to make your crystals unique.
Conclusion
Growing crystals at home fuse nature and art with science. They show what lies hidden inside everyday substances, such as salt, and the stunning phenomena created when different elements combine.
As an added extra, once your crystals have grown in their colors, charging them with genuine natural stones is a great idea to infuse them with the powers of natural gemstones.
Make the process enjoyable, learn something new, and discover the beauty of at-home crystal growing!